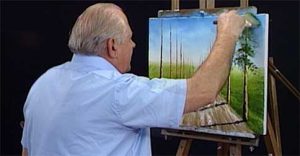
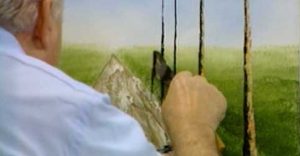
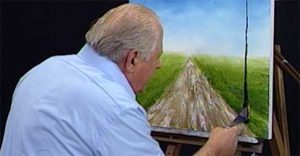
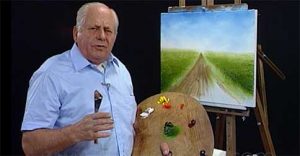
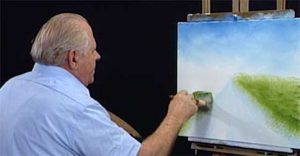
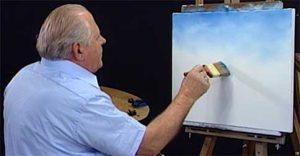
The foliage Bill applies to the trees is going to obscure the height of the trees. But because he spaced them (last lesson), it doesn't make any difference. He will also need to highlight the trees and you will see how it adds power to the painting. Previous Lesson: Spacing the trees Next Lesson: Shadows … [Read more...]
Spacing the trees!
Now Bill is getting down to business. Perspective involves a number of different elements. This is one of the more noticeable and important ones to get right particularly in this painting. If Bill were painting fence posts, it would be easier to see the perspective, but these trees are all going to be about the same height. Spacing is going to be more important than the height … [Read more...]
One almighty tree!
Now we're getting down to business. Bill demonstrates the first tree because all the rest will be painting similarly. Highlighting is important (the last lesson established your light source), and so is the cast shadow. Previous Lesson: Where is the light coming from? Next Lesson: Spacing the trees! … [Read more...]
“Where is the light coming from?”
This is the most important question for any painting. It will be especially important in this painting because the way the light falls will help create the illusion of perspective. Previous Lesson: Creating the fields! Next Lesson: One almighty tree! … [Read more...]
Creating the fields!
Next, come the fields which provide the background on which Bill will paint his perspective elements. These too need to be done with perspective (just like the sky). Bill demonstrates the proper way to lay in this background. Previous Lesson: Creating the sky! Next Lesson: Where is the light coming from? … [Read more...]
Creating the sky
We start with the sky. All of Bill's skies have depth and perspective and he shows you how to do it. This is your starting point! Previous Lesson: Perspective lesson series! Next Lesson: Creating the fields! … [Read more...]
- « Previous Page
- 1
- …
- 33
- 34
- 35
- 36
- 37
- …
- 71
- Next Page »


