Here are some more hints and tips that will help you become a better seascape painter.
Let’s go over one more definition and then we’ll share some hints for better seascapes
Area
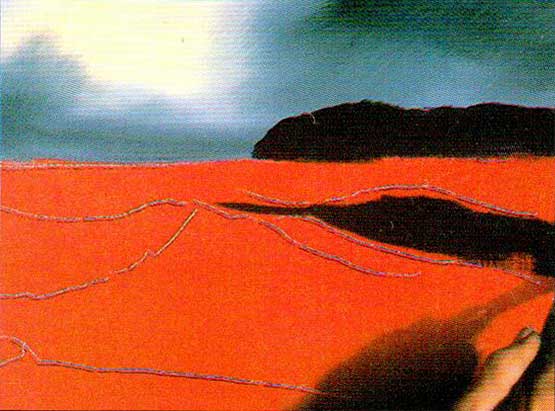
The term used when referring to the portion of the canvas identifying a sketched-in rock, wave or cloud that is yet unfinished. The term “area” is also used to refer to general spaces on the canvas (i.e., “the upper water area,” or “lower sky area.”)
Perspective

You can create a sense of depth and perspective in your seascape with a combination of three elements: size, color, and location. (There’s actually another factor, but we’ll deal with that in another email.)
Objects in the foreground are larger, darker in color, and located closer to the top or bottom of the canvas.
As an object moves away in the distance it gets smaller and becomes lighter in color. Background objects are also located near the center of the canvas or horizon line.
This tip is perfect for all your paintings, not just seascapes.
Creating Water
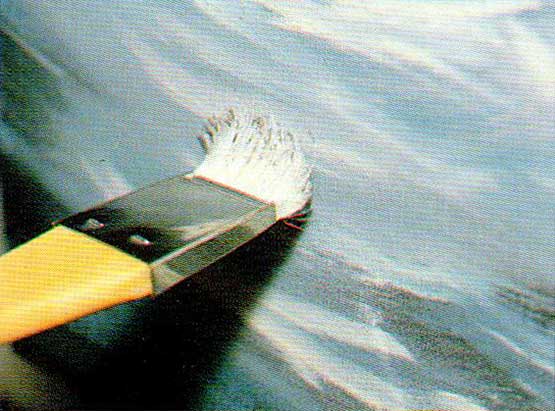
When creating the water areas of your painting it is helpful to use a stroke which follows the flow of the water. This stroke will be a horizontal stroke. In areas of foam splashing on the rocks, however, diagonal strokes should be used.
Forming the Dump of the Wave
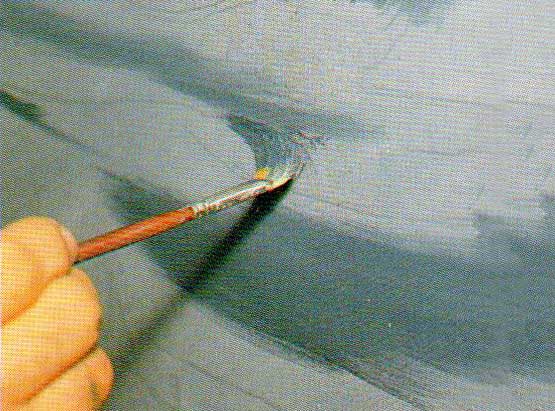
Use your fan brush, and touching the brush to the canvas, pull the paint down and slightly to the right forming a “comma” stroke. By using the Fan Brush and light pressure, the stroke will look like a series of lines, rather than a solid stroke of paint. Change the direction of the “comma” as the direction of the ocean current changes.
Creating Foam Patterns
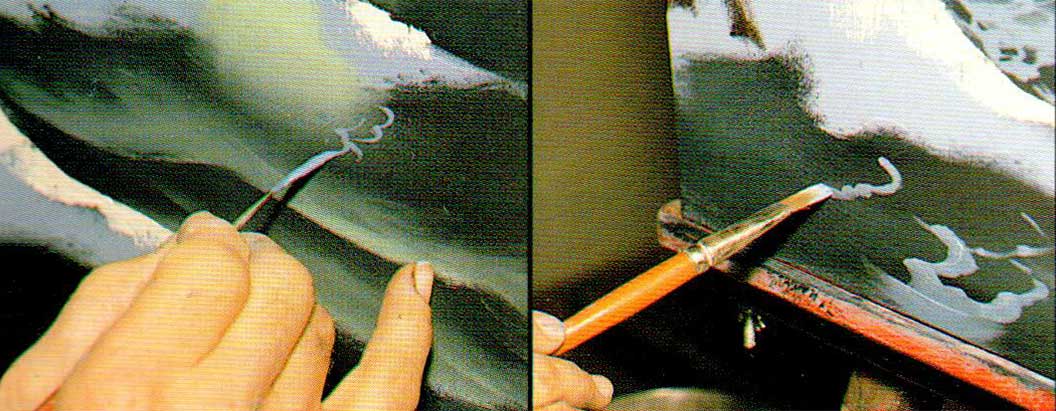 Foam patterns are formed by drawing a thin, irregular line while shaking your hand. Giving foam patterns the vague shape of backward “c’s” and “3’s” will give them definite form and design and eliminate their tendency to look only like erratic squiggles.
We mentioned this before. “Sameness” is death to your painting! Mother Nature is “fractal” – she is random. It is rare to see objects in nature that look exactly like each other. And yet, you notice it in paintings all the time.
Creating Cliffs and Rock Formations
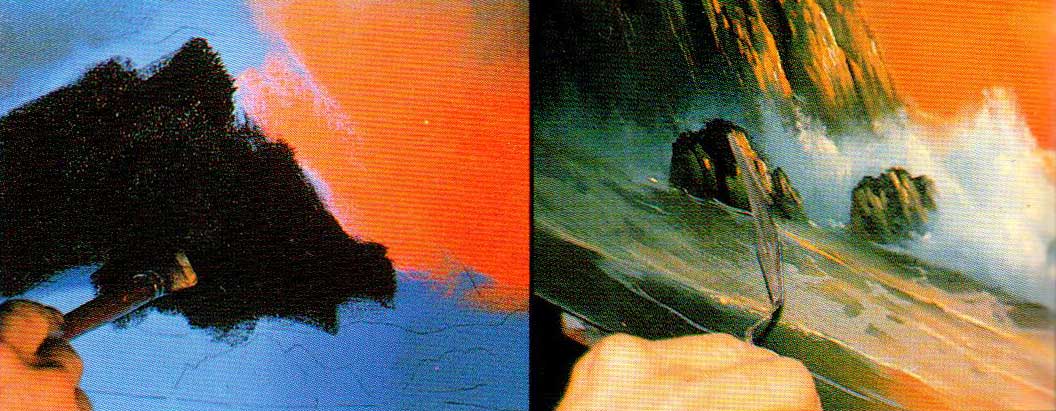 Using the brush or palette knife specified in the instructions, fill in the basic shape of the cliff or rock following the outline of your sketch. (You are sketching out the design of your painting, right?)
Texture and detail are created by adding highlights to the side facing the light source, and shadows to the side away from the light source. To add highlights and shadows use light pressure and follow the contours of the cliff/rock. Allow the paint to pull off your brush or knife blade creating texture.
That’s it for today. There’s a lot to know to set yourself apart from other painters.
More coming and, of course, it’s all in the Seascape course.
Don’t forget to sign up for our waiting list! Don’t delay. Folks who sign up will receive additional bonuses we won’t offer to our general list.


Leave a Reply